Bike maintenance
Every cyclist relies on a machine composed of dozens of interconnected components working in harmony. When that harmony breaks down—a chain that skips under power, brakes that howl instead of grip, or a mysterious creak on every pedal stroke—the ride transforms from pleasure to frustration. Yet bike maintenance remains an intimidating realm for many riders, seemingly reserved for professional mechanics with years of apprenticeship.
The truth is far more accessible. Modern bicycles, despite their increasing complexity, are fundamentally logical machines built on principles anyone can grasp. Understanding how to care for your bike doesn’t require a workshop full of expensive tools or a mechanical engineering degree. It requires knowledge of which tasks matter most, which tools genuinely make the difference, and how to approach maintenance systematically rather than reactively.
This comprehensive resource breaks down bike maintenance into its essential pillars: the tools that form your foundation, the core systems demanding regular attention, the diagnostic skills to solve problems before they strand you mid-ride, and the preventative habits keeping your bike performing reliably for thousands of miles. Whether you’re trying to understand accelerated e-bike chain wear, proper drivetrain cleaning without damaging components, or when carbon frames need professional inspection, these principles will give you confidence to maintain your bike correctly.
Essential Tools Every Home Mechanic Needs
Before diving into specific maintenance tasks, establishing a functional workspace dramatically improves both quality and enjoyment of bike work. Think of maintaining a bike without proper tools like cooking a multi-course meal with only a butter knife—technically possible, but needlessly frustrating and likely to produce poor results.
A proper bike workstand stands as the single most transformative tool purchase for home mechanics. Attempting to adjust derailleurs or bleed brakes while the bike leans against a wall forces awkward positions that guarantee back pain and imprecise work. A workstand elevates the bike to comfortable working height, allows 360-degree access to all components, and keeps wheels free to spin during adjustments.
Carbon components have made a torque wrench transform from luxury to necessity. Unlike steel or aluminium that tolerate modest over-tightening, carbon fiber crushes when compressed beyond design limits. Torque specifications printed on components aren’t suggestions—they represent the narrow window between secure attachment and structural damage.
Effective cleaning requires matching tools to specific tasks. Stiff-bristled brushes work perfectly for scrubbing tyres but destroy delicate derailleur pulleys. Soft brushes or dedicated cassette cleaning claws reach between sprockets where grime accumulates thickest. The degreaser debate—citrus-based versus chemical solvents—hinges on balancing cleaning power against potential paint damage, with citrus formulations offering adequate degreasing while minimising risks to frame finishes.
Drivetrain Cleaning and Lubrication Mastery
The drivetrain—comprising chain, cassette, chainrings, and derailleurs—represents your bike’s power transmission system. It’s also the component group most exposed to contamination from road grit, mud, and environmental moisture. Neglect here directly impacts both performance and your wallet, as a worn chain rapidly destroys cassettes and chainrings that cost significantly more to replace.
Chains elongate through repeated stress, with each pin wearing microscopically against its bushing. This “stretch” (actually wear, not true elongation) eventually causes the chain to sit improperly on cassette teeth, accelerating wear across the entire drivetrain. Standard bikes typically see chains last between 3,000-5,000 miles under normal conditions, but mid-drive e-bikes often require replacement every 1,000 miles due to concentrated motor torque. Regular measurement with a chain checker gauge allows replacement before the damage cascade begins.
Effective drivetrain cleaning starts with removing old lubricant and accumulated grime. The critical step most riders miss: complete drying before relubrication. Water trapped in chain rollers dilutes fresh lubricant, dramatically reducing its protective properties and longevity. Traditional wet and dry lubricants offer convenience but attract contamination that forms an abrasive grinding paste. Wax-based lubrication creates a dry film that sheds dirt, keeping the drivetrain noticeably cleaner and reducing wear. The trade-off comes in reapplication frequency—most wax systems need refreshing every 300 kilometres, though exact intervals depend on riding conditions.
Wheel and Tyre Systems Explained
Wheels form the literal contact point between your bike and terrain, making their maintenance critical for both performance and safety. Modern tyre technology has evolved into several distinct systems, each with unique maintenance requirements.
Tubeless Sealant Management
Tubeless tyres rely on liquid sealant to seal small punctures automatically, but that sealant degrades over time. In summer heat, sealant dries faster—potentially forming solid balls inside the tyre within two months. Winter’s cold slows evaporation but doesn’t stop it. Check sealant levels by removing the valve core and inserting a narrow rod to gauge liquid depth. When adding fresh sealant, beware the CO2 cartridge convenience: CO2’s extreme cold can instantly solidify latex-based sealants, potentially causing dangerous pressure loss mid-ride. Before remounting a tubeless tyre, remove the latex skin—dried sealant coating the tyre interior that won’t reactivate and can cause imbalance.
Calculating Optimal Tyre Pressure
The simplistic approach of inflating to maximum pressure printed on the tyre sidewall ignores fundamental physics. Tyre pressure should correlate with rider weight, tyre volume, and intended surface to optimise the contact patch. Lower pressures often improve both comfort and traction by allowing the tyre to deform around obstacles rather than bouncing over them. Modern pressure calculators account for rider weight distribution, tyre width, and riding conditions to suggest starting pressures. Interestingly, lower tyre pressures can sometimes resolve harsh suspension feel, as over-inflated tyres transmit impacts that overwhelm suspension capacity.
Brake Performance and Troubleshooting
Brakes transform kinetic energy into heat through friction. This seemingly simple task becomes complex in practice, with hydraulic systems, contamination issues, and alignment tolerances all affecting performance.
Disc brake pads rely on precise friction compounds to generate stopping power. When spray lubricant or chain oil contacts these pads, it saturates the porous material and destroys the friction interface. The characteristic symptom—a high-pitched squealing howl during braking—announces the problem to everyone within earshot. Some contaminated pads can be saved through aggressive cleaning followed by lengthy bed-in procedures, but severely contaminated pads typically require replacement. Prevention matters far more: when lubricating your chain, remove the rear wheel or position a shield to protect the rotor and pads.
Disc brake rotors bend more easily than many riders suspect. The distinctive “zing-zing-zing” sound synchronised with wheel rotation indicates a bent rotor. Straightening requires patience: identify the bent section by spinning the wheel and observing where the rotor deflects toward one pad, then make small adjustments with an adjustable spanner. Caliper centering—ensuring equal pad spacing on both rotor sides—typically requires loosening the caliper mounting bolts, squeezing the brake lever to self-center the caliper, then retightening while holding the lever.
When one brake pad wears significantly faster than its partner, suspect a stuck piston. Contamination or corrosion can cause one piston to seize partially, forcing its partner to compensate by extending further and wearing faster. This requires caliper service: removing pads, carefully cleaning pistons, and potentially replacing seals.
Suspension Setup for Your Riding Style
Suspension transforms rigid impacts into controlled absorption, keeping tyres in contact with terrain that would otherwise bounce you skyward. However, suspension setup remains deeply personal and terrain-dependent, making generic recommendations of limited value.
Sag—how far suspension compresses under your static weight—sets the suspension’s operating point within its travel. The commonly cited 30% sag target serves as a starting point for trail riding, but isn’t universally optimal. Aggressive riders on steep technical terrain may prefer firmer suspension to prevent harsh bottom-outs during large impacts. Conversely, flowy trail centers with rolling terrain often feel better with slightly softer settings that keep suspension active through small bumps.
Rebound damping controls how quickly suspension extends after compression. Too little rebound damping creates the “bucking bronco” effect on consecutive impacts: the suspension bounces back so rapidly after the first hit that it throws you upward into the second impact. Increasing rebound damping slows extension, keeping the suspension planted and predictable. However, excessive rebound damping causes “packing”—the suspension fails to extend fully between impacts, gradually consuming all available travel. Suspension doesn’t operate in isolation; tyre pressure dramatically affects how impacts reach your fork and shock.
Carbon Components and Torque Specifications
Carbon fiber’s exceptional strength-to-weight ratio has proliferated throughout modern bikes, from frames and forks to handlebars, seatposts, and wheels. This material requires a fundamentally different approach to care and maintenance than traditional metals.
Experienced mechanics developed an intuitive sense for proper bolt tension over years working with steel and aluminium components that tolerated modest over-tightening. Carbon fiber eliminates that margin for error. Over-torquing a carbon seatpost clamp or handlebar bolt compresses the carbon beyond its crush strength, creating structural damage that may not manifest immediately but weakens the component permanently. The solution requires religious adherence to manufacturer torque specifications using a calibrated torque wrench.
Carbon’s failure mode differs fundamentally from metal. Aluminium bends visibly before failing; steel telegraphs fatigue through surface rust or visible cracks. Carbon can hide internal delamination beneath pristine paint while structural integrity has already failed. After a crash involving carbon components, careful inspection becomes critical. Surface scratches through paint typically pose no structural concern. Visible fiber damage, cracks, or areas that feel soft or flex abnormally demand professional assessment using ultrasound or X-ray to detect internal damage.
Preventative Maintenance Schedules
Reactive maintenance—fixing problems after they appear—costs more in both money and frustration than preventative maintenance. Systematic inspection catches wear before it causes failure or damages other components.
Certain components demand regular scrutiny regardless of whether they’re causing obvious problems. A six-month inspection checklist should include:
- Chain wear measurement before elongation damages the cassette
- Brake pad thickness to maintain stopping power and prevent rotor damage
- Tyre tread and sidewall condition for cuts or excessive wear
- Cable and housing condition for fraying or contamination
- Pivot and bolt tightness, as vibration loosens fasteners over time
- Wheel trueness and spoke tension to prevent progressive failure
These inspections take less than 30 minutes but catch the vast majority of developing problems while they’re still inexpensive to address.
That intermittent creak, tick, or click that appears on every ride? Systematic diagnosis works better than random part replacement. Most mysterious noises originate from metal-to-metal contact points that have dried out or loosened slightly. Clean and regrease all contact points between components (seatpost-to-frame, stem-to-steerer, handlebars-to-stem), check pedal tightness and cleat security, verify wheel axle tightness, inspect chainring bolts and bottom bracket tightness, and examine derailleur hanger security.
E-bike Unique Challenges
Electric bikes magnify certain maintenance demands while introducing entirely new considerations. The motor assistance fundamentally changes how components wear and how the bike performs across environmental conditions.
Lithium-ion batteries suffer dramatic capacity loss in cold temperatures. A battery delivering 100 kilometres of range in summer conditions might provide only 70 kilometres in January cold. This isn’t damage; it’s reversible chemistry. Cold slows chemical reactions within battery cells, increasing internal resistance and reducing available power. Mitigation strategies include storing the battery indoors at room temperature, insulating it with a neoprene cover during winter rides, and delaying installation until immediately before riding to minimise cold soak time.
Mid-drive e-bikes position the motor at the crankset, routing all motor power through the chain. This concentrated torque creates chain forces far exceeding what even powerful riders generate. The result: chains commonly wear out every 1,000 to 1,500 miles on mid-drive systems versus 3,000 to 5,000 miles on acoustic bikes. This isn’t a defect; it’s physics. More frequent chain replacement becomes part of e-bike ownership. The critical lesson: replace the chain promptly when wear measurements indicate it’s needed, preventing the worn chain from destroying the cassette and chainrings.
Rider Comfort and Equipment Care
Bike maintenance extends beyond the machine itself to equipment and apparel making riding enjoyable. Neglecting these elements compromises comfort and can create genuine health issues.
Clipless pedals transform pedaling efficiency but improper setup creates knee pain or prevents escape during crashes. Cleat position—specifically fore-aft placement relative to your foot—significantly affects comfort and power transfer. Pedal tension should be set conservatively for new clipless users; most pedals allow tension adjustment via a small bolt.
Cycling shorts contain an antibacterial chamois designed for single use. Wearing shorts multiple times between washes creates a bacteria-rich environment pressed against sensitive skin for hours—a recipe for saddle sores that can sideline you for weeks. Prevention is simple: wash shorts after every ride, dry completely, and never use fabric softener, which destroys the chamois’s moisture-wicking properties.
High-end cycling jackets rely on DWR (Durable Water Repellent) coatings to shed rain. These coatings gradually wear off through use and washing. When your jacket starts “wetting out”—the exterior fabric becoming saturated rather than beading water—the DWR needs refreshing with specialty wash-in or spray-on treatments. Lock mechanisms exposed to winter grit can seize; periodic flushing with penetrating oil maintains smooth operation. USB charging ports benefit from careful seal inspection and occasional treatment with dielectric grease to prevent corrosion.
Bike maintenance encompasses a vast skill spectrum, from basic cleaning anyone can master to complex servicing best left to specialists. The key to developing competence lies in progressive skill building. Start with high-impact, low-risk tasks: cleaning your drivetrain properly, measuring chain wear, and mastering proper tyre inflation. From that foundation, expand into adjustments like derailleur tuning and brake pad replacement. Know your limits and recognise tasks warranting professional assistance, such as hydraulic brake bleeding and suspension servicing. The goal isn’t becoming a professional mechanic—it’s developing sufficient knowledge to keep your bike performing reliably, catch problems early, and make informed decisions about when professional help becomes worthwhile.
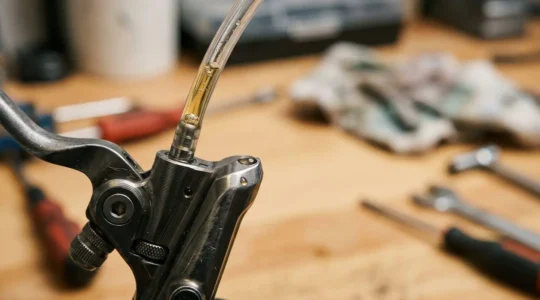
Spongey Brakes? Your Guide to Diagnosing and Fixing Common Bike Brake Problems at Home
In summary: Most brake issues like noise and sponginess are not due to air in the lines but from simpler problems like contamination, misalignment, or sticky pistons. Systematic diagnosis is key. Before attempting a bleed, learn to identify and fix…
Read more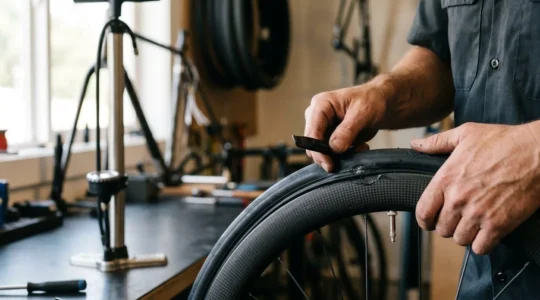
The Home Mechanic’s Guide to Tubeless Sealant: From Top-Ups to Trailside Fixes
In summary: Tubeless sealant is a dynamic system that requires regular checks, with frequency depending on climate and mileage. Trailside puncture repairs are a manageable process of assessment and plugging, not a ride-ending disaster. Understanding the physics of CO2 inflation…
Read more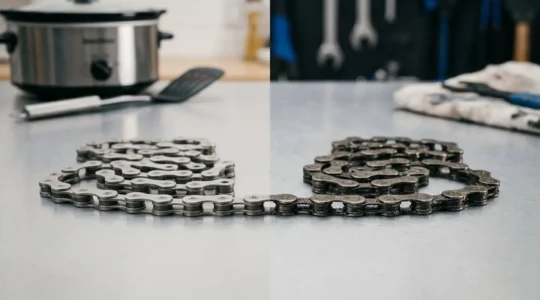
Hot Wax vs. Drip Wax: Is the “Silent Chain” Worth the Kitchen Hassle?
The debate ends here: Correctly applied, chain waxing is not just a cleaner alternative to oil—it is a systematic upgrade that can double your drivetrain’s lifespan and cut long-term costs by nearly 50%. It creates a solid, dry barrier that…
Read more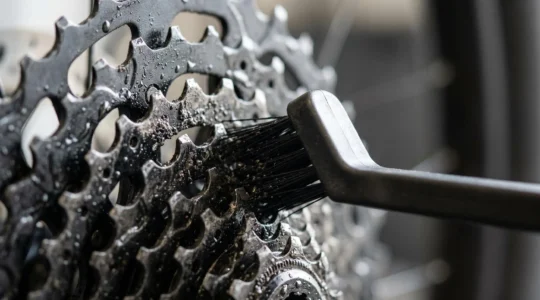
How to Clean a Black Cassette in 10 Minutes: A Pro Detailer’s Guide to No-Mess Drivetrain Hygiene
In summary: Effective cassette cleaning in a small space relies on a contained, surgical system, not messy, brute-force scrubbing. Use bike-specific, pH-neutral degreasers to avoid damaging your components and a two-jar system to reuse liquid and contain waste. Combine a…
Read more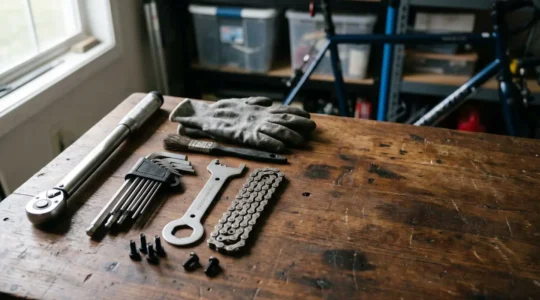
The £50 Bike Tool Kit: Key Essentials to End Shop Labour Fees
In summary: Becoming self-sufficient is not about a big toolkit, but buying the *right* tools to solve the most common and costly problems. A torque wrench is non-negotiable for modern bikes to prevent catastrophic frame damage. Your first and most…
Read more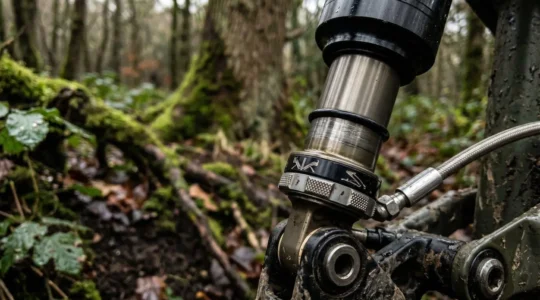
Tuning Your Rear Shock for UK Roots: A Guide to Grip Without Sacrificing Pop
The key to conquering British trails isn’t chasing plushness, but achieving a balanced, supportive suspension that prioritises tyre contact and control over standard setup rules. Static sag is only a starting point; dynamic support from a slightly firmer setup often…
Read more